Before creating a project, there are some key concepts you should understand. We’ve made these concepts easy to grasp so you can quickly proceed to the project creation process.Your servers, previously added to your account and provisioned by Depfloy, come pre-configured with everything needed to run modern JavaScript applications. Your server supports all current JavaScript frameworks including Next.js, Nuxt.js, Remix, React Router, and TanStack Start. Servers come with Node.js 22.x (current stable LTS version) pre-installed.To create a project in Depfloy, navigate to the projects page and go to the project creation screen. Fill in the required information on the form to start the project creation process. Your project will be created and deployed in minutes.— Also you can create projects in Depfloy API.
Projects are directly connected to your source control account. Enter the repository information from your source control account that you authorized as an OAuth application during account setup.
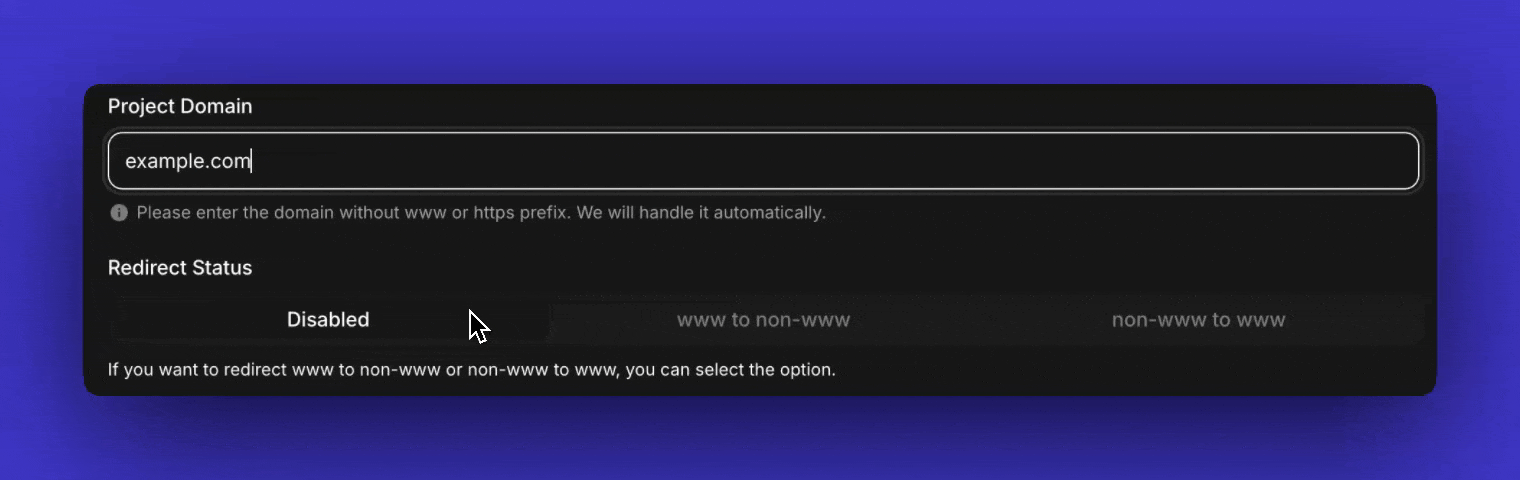
Your project must have a domain name. Enter the domain name without the www prefix. In the next step, you can choose which redirect rule to use for your domain. You can configure DNS routing after creating your project. Note that your SSL certificate cannot be generated until DNS records point to your selected server.
Specify your domain redirect preference. Choose whether you want to use the www prefix or not. Depfloy will automatically handle all redirect configurations.
An install command runs every time you deploy your project. By default, Depfloy runs a managed install command. You can override this by adding a custom install command.
When automatic deployment is enabled, a project build will be triggered with every commit to your project repository. If automatic deployment isn’t working, we recommend first checking your source control account permissions.
When this option is enabled, SSL activation occurs automatically once DNS routing points to your server. Otherwise, you’ll need to trigger it manually.